Thursday, March 17, 2011

Playing

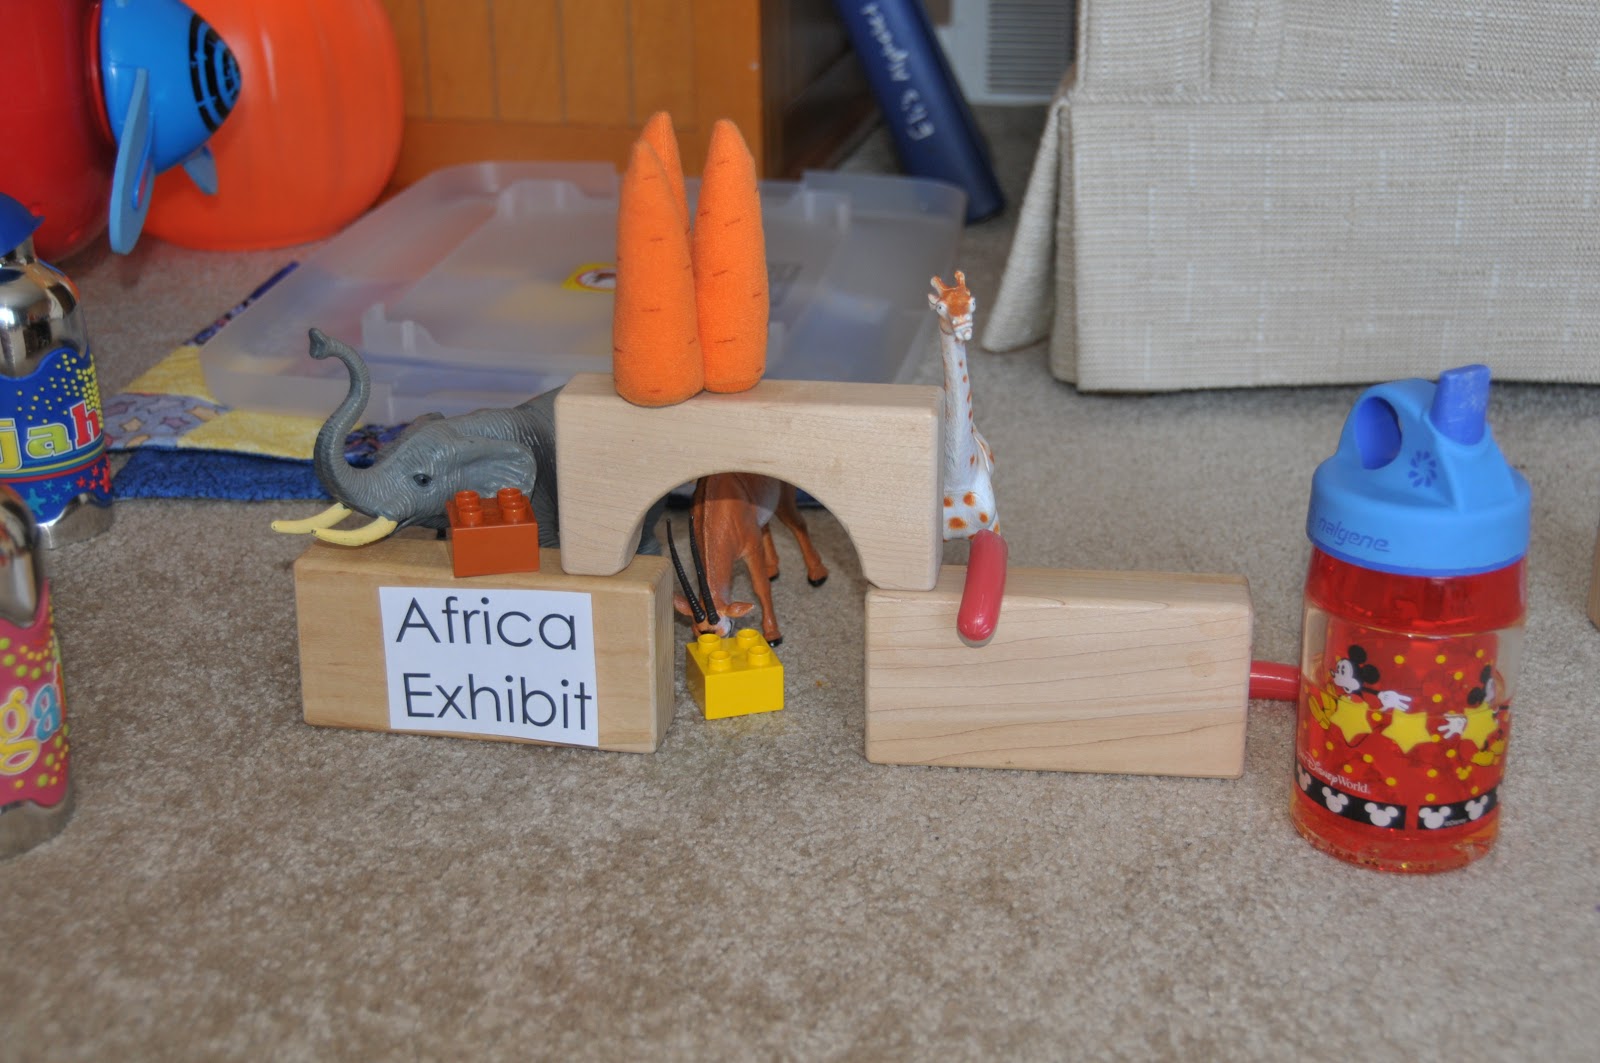
It was a ho-hum day.  We had been stuck inside for ages, each kid battling their second round of bronchitis since Christmas.  Eli really wanted me to play blocks with him and I half-heartedly built him a letter "Z."  Amazingly, seeing his mother make him one letter did not meet his expectation of "playing blocks."  Again, half-heartedly, I asked if he wanted to build a zoo.  He was all over that.  Suddenly, our ho-hum day was not so ho-hum anymore.


The kids went crazy with this.  We ended up filling our playroom with various exhibits, filling those exhibits with animals, and adding signs.  Honestly, I did not expect our zoo-building to turn out to be anything to write home about, but the kids made it so, so cool.  Their ideas, mainly Eli's,  just kept coming and coming and our zoo got awesomer and awesomer.  (I know that awesomer is not a word, but I am going to use it, regardless.)

Not a Petting Zoo I might want to go to, but Eli was adamant. 
Did you know that farm animals drink root beer?  It's the black bottle on the right.

This exhibit was all Abby's.  Intuitively, Eli steered clear while Abby decorated with cups and legos and food.
Eli was insistent that we needed a "No Petting the Lion" sign.

The Sea Animals Exhibit.  Real water makes for real fun.

While we were working, my teacher brain clicked on and I was practically jumping for joy as I saw all the learning unfolding while we were playing.  Here are some skills we used:
  • Sorting and classifying as we decided which exhibit each animal should go into.
  • Counting the animals in each exhibit.
  • Discussing letter sounds as we decided what letter each animals' name began with.
  • Using verbal skills...Aunt Katie came specifically to visit our zoo and Eli gave her a tour and then another tour when Daddy got home from work.
  • Discussing needs of living things.  Eli took play food to each exhibit.

Most importantly....
We were able to talk about God's amazing creativity in how He created each of the animals.  So many animals...all so different...all created out of nothing by God.  WOW!  God thought to make an animal with black and white stripes and another with a really long neck and yet another with a really long nose.  That's cool.

We were zoo crazy for a few days.  You can even do a Google search for "Zoo Webcams" and watch animals live.  That was fun and strangely hypnotic.  I think I could watch the San Fransisco Zoo elephants for quite a long time.

                               What I Learned From Our Zoo                           

"Adults don't play."  That's what Eli told me not long ago and it made my heart sad.  I don't remember the context in which he told me this, but it has stuck with me.  So, I am trying to remember to play and make playing a priority.  There will always be toilets to clean and dusty bookshelves.  But in this season of my life, I have two little ones wanting to play blocks.  God has given them to me...amazing packages of creativity, energy, passion, and fun in little bodies.  What a joy it is, indeed, to play.

Monday, March 14, 2011

Lacing the Letter "Z"

Good Morning and Happy Monday!

Eli likes to watch me sew and always wants to try himself.  Once I let him push the pedal of my sewing machine and then quickly vowed to let some time pass before we tried that again.  I have also let him pull needles through fabric, but it is just a matter of time before blood is drawn, his or mine.  We needed something safer.  Introduce what we affectionatly call...KID NEEDLES.  I purchsed these kid needles at Joann's by the pony beads.  They are big, plastic, and have a blunt end.  Perfect.

I had been holding on to this piece of stryfoam long after the watermelon that came on it was gone.  I poked holes in the shape of a Z, threaded a kid needle with yarn, and taped the end to the back of the styrofoam.

Eli then threaded the yarn through the holes.  He said he was "sewing" and loved it!


Once you reach the end, go backwards to make a complete line instead of one with spaces between the stitches.  We went back and forth over our Z a few times.

Done!
I am partial to the letter Z, as I have been called Sarah Z for more than half of my life.  To that end, we displayed Eli's sewing project on the mantle.  A few days later I found it broken into pieces behind a chair.  Styrofoam does make a very cool sound when cracked in half.

This could be done with all letters, shapes, or designs on cardboard, an old filing folder, a cereal box, etc.  Probably looking into your recycling bin would yield something on which to sew.  Eli really liked this and it took me a two minutes to do the prep work.  Really easy clean-up too!  It was fascinating to watch Eli work on this.  He really had to concentrate on his hand-eye coordination.  We were working those fine motor skills!

Here are a couple printable lacing cards I have seen out in Internet-Land.  Enjoy!

Printable Sewing Cards at Mini-eco

Shamrock and Rainbow Lace Ups at Chalk in My Pocket

Friday, March 11, 2011

On My List

I get a lot of ideas by checking out various blogs.   There are so many fantastically creative people out there!  Here are some things I've found that I would like to do: 

Giant Sunflower at Frugal Family Fun Blog

Sewing (Lacing Cards) at Mini-eco

Daffodil crafts at The Imagination Tree

Do It Yourself Bathtub Puffy Paint at Chalf in My Pocket

Would anyone like to add to the list?? 

Have a wonderful weekend!


Thursday, March 10, 2011

Indoor Hoop

A common request we get from Eli is to make a "tall hoop."  This involves a mom or dad or an aunt standing and holding their arms in a hoop formation.  Eli, with the aim of a four-year old, then starts to shoot balls at us.  Really no one, besides Eli, enjoys playing "tall hoop."  One day I thought...there has got to be a way around this.

My first attempt at making a tall hoop.  I started by taping plastic straws together and then hanging them from the ceiling.  We did notice that it was hard to tell when the ball went through, so I taped wax paper to the straws, making it more hoopish.   We soon found out that straws do not hold up well under indoor basketball and wax paper doesn't really stick to tape.


Tall Hoop #2

This time I took a wire hanger and unfolded it into a straightish line.  I knew that we needed something for a net so that we could tell if the ball was reaching its desired aim.  (Just now a Happy Gilmore quote popped into my head..."why don't you just go to your home?")  I had some left over tulle from a previous project...folded over a hem of about an inch and sewed a seam with my sewing machine.  The wire was fed through this seam, I bent the wire into a circle and duct taped it closed.  We tired yarn to the wire and taped it to the ceiling with painters tape.

It might not be pretty (though Eli did tell me it looked like a dress) but it works and is a blast!!

Hooperific

Fun for big boys too.  One of the many many reasons I love him.  I also love him for letting me post these pictures, though he was a bit reluctant. 
Super Fast


I do feel compelled to tell you that after some serious dunking, the hoop did get ripped down, taking a chunk of the ceiling paint with it.  Oops.  The hoop is currently tied up.


A great way to chase away the winter blues.  
Have fun!


********************************************************


Why did I have left over tulle?

From this great no-sew project that Abby wore on her first birthday and is now in our dress-up box. 

Super easy.  Super cute.


Just a fun side-note for you...


Tuesday, March 8, 2011

Coffee Filter Fun...Second Way

One of my favorite blogs is Frugal Family Fun Blog;  it is very true to its name.  On this blog, I found a second way to bring spring into our home via the coffee filter.

 Coffee Filter Sunshine

What You Need:
  • Coffee filters
  • Washable markers OR watercolor paints
  • Water
  • Paintbrush
  • Scissors (optional)
This is so easy!!
  1.  If you want...fold the coffee filter into thirds and then snip to make a zig-zag edge.  (Does that make any sense??  I forgot to take a picture of this step!)
  2. Color or paint on the coffee filter.  If you opt for the paint, you are finished, and just need to let that sunshine dry.
  3. If you used marker...now you get to paint with water!  That's right, folks.  Water.  
  4. Let the coffee filter dry.
  5. Hang it in the window.
I don't have any watercolor paints so we went the marker route.  They look so thrilled.
Abby painting with water, causing the marker colors to bleed and run together.  (We lost Eli after the coloring.  Refer to previous picture.)  She LOVED this...the painting part...not the losing Eli part. 

How can painting with water be so messy?  A mystery for the ages, I guess.  Make sure you have something down underneath the coffee filters once you start in with the water.

So, with our first coffee filter project it is true that the kiddos outdid me.  I liked theirs MUCH better than mine.  Sorry kids.  Mom wins on THIS coffee filter project.   Theirs were good this time around too, but I did like how mine looked as I had covered the entire coffee filter with marker, contrasting their more sporadic coloring.

One of my creations in all three stages:
  1. COVERED the coffee filter in marker.
  2. Still wet from the water painting.
  3. Dry and on the window.

The Finished Product

With the zig-zag edges.  So sunshiney.

Please stay, blue skies.

So there you have it.  Fun with coffee filters...two ways.  
Who has another?


Monday, March 7, 2011

Coffee Filter Fun...First Way

We're bringing in spring around here regardless of what it looks like outside.  All of the snowflakes and winterish things have come down and in its place we are growing some flowers.


Coffee Filter Flowers

What You Need:
  • Coffee filters
  • Washable markers
  • Spray bottle of water
  • Pipe cleaners
  • Green tape
We started by coloring on the coffee filters using the washable markers.

After we finished coloring, I sprayed the coffee filters with water, completely dousing the whole thing.

Here they are post-spraying.  You can really see on Eli's how the colors are starting to bleed and run together, hence the need for WASHABLE markers.  I thought that Eli and Abby's turned out better than mine, a fact that I am embarrassed happy to say surprised me.  The more marker...the better.

Abby blowing on them to speed along the drying process.  They dried REALLY fast, even without the additional help of an adorable 2-year old.  We made them in the morning and they were easily dried by lunch time.


The Finished Product

A centerpiece.  Kind of gather up the center of the coffee filter to make a cone-ish type shape.  Wrap a pipe cleaner around it and pop it in a vase.
A made-over Winter Wonderland, though Eli did insist on keeping his penguins by their house.  The leaves and stems are just green painters tape that I found at Walmart.

The kids LOVED this and it was super easy.  Eli and I actually did some more in the afternoon, while Abby was sleeping, at his request.  I was surprised at how good it felt to be growing some Spring in our home.  Our inside-March was in like a lamb...now if outside-March would just follow.


Tomorrow:
Coffee Filter Fun...Second Way


Friday, March 4, 2011

Not Just for Kids--Freezer Paper Stenciling

It's quite possible that I am pre-disposing my children to being nerds.  More on this later.

Somehow,  I went through 33 years of my life without knowing of the existence of FREEZER PAPER and the crafting possibilities that come from it.  I like to put things on shirts, mainly by sewing things onto them:  numbers for birthdays, stars for the 4th of July, letters, etc.  When I made Valentine's Day shirts for the kids this year, however, it was my first try at fabric paint.  I made paper stencils for Eli's shirt and was really happy with the outcome, though there was a bit of paint bleeding around the edges.  My second try at stenciling was book bags for the kids.  This time, the paint bleeding around the edges was much more pronounced.

My first attempts at fabric stenciling.  Notice the paint bleeding around the edges?

So, I started to do a bit of research and discovered my new favorite thing:
FREEZER PAPER STENCILING

Check out this great video tutorial.  The short version:  You cut a stencil out of freezer paper which has a waxy side, iron the stencil onto the shirt and it sticks, paint, peel the stencil off.   There are endless possibilities with this.  For example, let's say you are a student at The University of Colorado (Hi Alli!)...Google Image search "University of Colorado Buffalo," print off a picture, and you're on your way to a shirt.

And...back to how I may be pre-disposing my children to being nerds.  I bought a $3 sale shirt for Eli and was deciding what my first freezer paper stencil would be.  I was thinking a rocket or a guitar.  I printed out a rocket that I found on Google Images and put it on the shirt to show my husband.  He said, "I don't know...looks kind of like a Star Trek shirt to me."  Ding Ding Ding.  Cue me searching "STAR TREK INSIGNIA" on Google Images and a 3rd generation Trekkie is born.

My favorite little, albeit reluctant, Trekkie. 

The paint lines were very clean and defined.  I really liked how it turned out and it was super easy.  My husband may come home one day from work to find every item of clothing we own freezer paper stenciled.  It's really fun.

So, pre-disposed to nerdiness?  I guess our kids didn't have much of a chance anyways...the Star Trek shirt may not tip the scales.  After all,  they are the children of a statistician and a mathematician.  Their mom likes to do math for fun and their dad won his 8th grade Science Olympiad Simple Machines contest.  Sorry kids, it's in your genes and soon might be freezer paper stenciled to your jeans.

Isn't he such a cute little nerd, though?  A little 4-year old Captain Kirk.  
Live Long and Prosper