Not long ago I made these delightfully tacky and cheap storage containers:
A couple days ago I happened upon an easy way to label them:
Just add a piece of clear Con-Tact paper and label using a dry erase marker. The marker comes off easily, allowing what is stored in the containers to be changed and re-labeled.
Sadly, every time I see this colored pencil tub, which used to house frosting, I want frosting. Let me clarify, I want to eat frosting by the spoonful, from a tub that still houses frosting. That way, I could get another storage container. Right? Right???
Abby attracts stains. Specifically, dry erase marker stains. I would have thought that these little marker spots would wash right out, but, I was wrong. Sadly, the heart shirt below (that we made here) has a nice black dry erase marker stain on it. So sad.
Heart shirt pre-stain.
Add to the dry erase marker stains some ground in Play-Doh and I finally decided it was time to get smart. You know, time to be proactive instead of reactive. It was time to get that child an art smock...but they were kind of expensive, so time and time again I decided not to purchase one. Instead, I just held my breath every time she was at the dry erase board and hovered over her, ready to swoop in and grab the marker if it came too close to her clothes. Yup. That is easier than just getting a smock.
One day Abby was wearing a really cute shirt, a really cute SHORT sleeved shirt, at that. She doesn't have many cute short sleeved shirts as we start, or maybe start, short sleeved shirt season. Anyways, Abby wanted to use the dry erase markers and in that moment, out of sheer desire to protect the cute shirt, I grabbed one of Eli's t-shirts that was also stained. (That shirt was really old, so it's OK for it to be stained. I am not a complete laundry-moron.) I cut it open in the back and put in on her. Wow. That was easy, ridiculously easy.
From the back...while painting, not markering.
From the front.
My plan was just to leave it open in the back with no fastener. We used it like this numerous times, but it would always start to come down over one shoulder. I decided to add a button to remedy that problem.
To recap: I cut an old shirt straight up the back and then stitched on a button. The arrow in the picture is pointing to where I snipped, with a pair of scissors, a button hole. Very fancy, huh?
That's better...stays closed...and super cute short sleeved shirts stay unstained.
My plan now is to pick up an old shirt for Eli, as I want it to be a bigger size than he actually wears. I will be heading to the thrift store and then making a smock for him too.
SIDE NOTE:
The picture of Abby's smock, laying on the table, showing the button?? Let me show you the ZOOMED OUT version of that picture.
We are big multi-taskers around here...eating, dusting, R2-D2 Play-Dohing, and staging pictures. Never a dull moment.
We are sick...again. It has been a long fall and winter of sickness for this family. An ear infection and a mild case of rotovirus are the culprits this week, but no one is puking, so it could definitely, definitely, be oh-so-much worse. After nights of, shall we say, compromised sleep and days of very cranky children I do not have much to offer this morning...but this little trick did provide twenty minutes of happiness for an unhappy child.
Ok. No matter how you feel about processed food, you have to try one of these:
Now let me say, I am not asking you to try this because the food is so fantastic. You should try this because after the food is gone you are left with this:
And what is this, you may be wondering...it's a bath toy, of course.
I should clarify. It's a SUPER FUN bath toy.
I was not looking for these in the store, but my eyes did happen upon them and they were on sale. I purchased two for obvious reasons: I have two kids. The way I see it, I bought two great bath toys with the by-product two marginal lunches for "free."
Yesterday, after a day of a whining and crying Abby, a fun bath provided twenty minutes of relief for both of us. She was screaming before and screaming after, but...we did get the blessing of this:
In the midst of sleepless nights and sick kids, this mom rejoices in a Risen Lord.
I like things to match. I especially like organizational storage things to match. Matching boxes, baskets, bags, you get the idea. But, I don't quite have the budget to purchase all of these matching things. I can, however, try to make things match.
I always have empty Clorox Wipes tubs lying around. I peeled the wrappers off of them, but they needed just a bit more. I looked at fancy duct tape and patterned contact paper, but it's fairly expensive. Then, on a random trip to the Dollar Store, I found this beautifully tacky, yet somewhat charming, faux wood grain contact paper. Cover the tubs and...matching storage.
I wish I would have started saving these years ago. If I had, everything in my home would be organized in contact paper covered Clorox tubs.
While I was putting these together, which literally took about one minute, I noticed that Eli was kind of wandering around aimlessly. Road making time.
When the contact paper only cost $1, I didn't feel bad about sticking it to the floor, knowing we might be done with it in an hour.
While Eli and I were racing cars, I found that Abby had absconded away with my newly covered tubs and began organizing her crayons. She did not even want to let them go so that I could take a few pictures.
You go right ahead and organize, sweet girl.
So, $1 made for three very happy people on a gray, getting colder when it should be getting warmer, April morning.
I guess you could count me happy two times. As I was getting the pictures around for this post, I found Eli organizing his Legos with our newly covered tubs. So, I have new and matching tubs, two kids that used these same tubs to organize, AND they were occupied. I wasn't a math teacher for nothing...that makes me happy THREE times, Eli happy two times (racing cars and organizing Legos), and Abby happy once (organizing crayons). That, folks, was a well spent dollar.
All my crafty type stuff is in our basement. If I ever wanted to work on anything while the kids were awake, the only option for distraction was the television. I wanted to find some sort of alternative, hence, the Noodle Box.
Materials:
One box with a cover
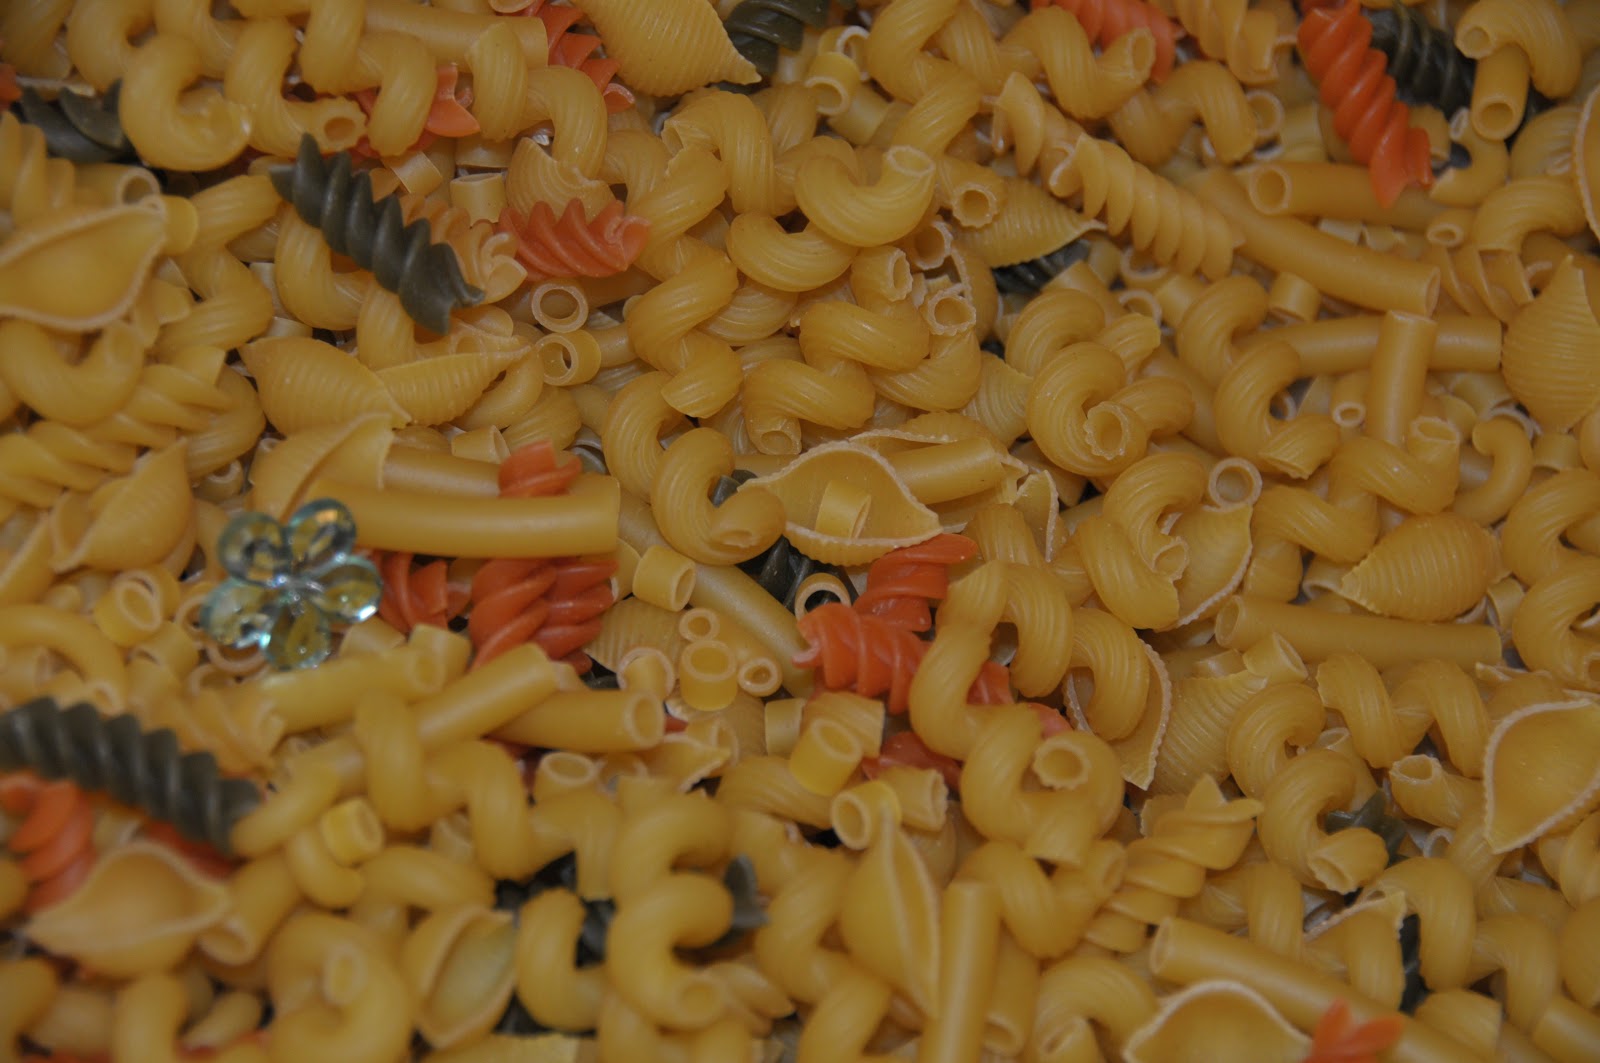
Noodles
Scoop type tools
I purchased one long plastic tub, one of my very favorite things to purchase. I love tubs. I got five boxes or so of noodles that were on sale. At a dollar store I picked up some measuring cups and spoons, scoops, funnels, whatever looked fun for noodle playing. Put everything in the box and you are ready to go.
The Noodle Box gets me a good 20-30 minutes of TV-free craft time.
Noodles and some sparkly buried treasure. I do get another box of noodles every once in a while when they are on sale. NOTE: DO NOT, let me repeat DO NOT, put rice or lentils into your box. In my excitement when we first put our box together, I threw in every partial box of anything that I had in my pantry. The rice and lentils made a huge mess. You only want to use noodles that are big enough to pick up off the floor easily. I spent a lot of time picking the rice and lentils out of the box. Yes. You read that right. I picked them out of the box. That little project was exactly as much fun as it sounds like it would be.
We have had the Noodle Box, which technically could be called a "Sensory Box," for a solid two months now and I have been waiting to take some pictures of it in use. In a matter of moments we went from Happy Abby:
To Not-So-Happy Abby:
I don't know what happened. Apparently, me taking pictures was quite offensive.
The Noodle Box is right by my sewing machine. We ONLY play noodles in the basement, so it is a special treat. This is not a great picture, but it was the best I could quickly get while my child was wailing on the floor.
So, where do you need to have your kids occupied for a little block of time? By the computer to send a few e-mails? In the kitchen? I have heard that some people iron shirts...maybe by the ironing board? Try a Noodle Box for those specific times...it has worked really well for us.
What tricks do you have for keeping kids happy while you get a few moments to check something off your list??
I kind-of wanted to title this post "Kleenex Kraft," but I just couldn't bring myself to do it.
We recently celebrated my Grandpa's 90th Birthday and my Grandma's 87th birthday. What do you get for people who lived nine decades? People who lived through the Kansas Dust Bowl, the Great Depression, and a World War? My grandpa tells an amazing story of a time when he and his dad and his brothers were talking. My great-grandpa looked up at the moon and said, "Boys, one day a man will walk on that." The boys laughed. I mean, really, what do you get for people who have lived the life they have? Kleenex.
I had just gotten a giant pack of Kleenex at Sam's. We pulled out two boxes and went to work. Our first step was to color on all the sides using PERMANENT MARKERS. It was pretty exciting for the kids, not so exciting for me.
As usual, I have lots of left-over Christmas cards. I have been gradually using them up, cutting out the pictures for various projects.
A left-over handprint from this project. I have a really hard time throwing away anything that my kids have made...especially these little handprints, so I have a stack of them waiting to be used.
We are in a fun new time when Eli can write messages...with lots of help. I write the letter on a whiteboard and he copies it on paper. I discovered, however, that if I just tell him to write the letter, he can't visualize the space on the paper and how the letters fit into it. We end up with one giant letter and the rest he just tries fit in where there is a space. For this side of the box, I gave him the squares to help him control his writing. We did the same on Side #1, using lines to help him place the letters of his name. Are those 4-year old letters not the sweetest thing ever?
Foam stickers. Eli was loving the lips.
Abby's is a bit more self-explanatory. I did use a painting she had done awhile ago and cut the flowers out of that. Like I said, I just can't bear to throw anything away. I am going to have to work on that or when I turn 90, Lord willing, I will have a house full of kid paintings.
To finish our gifts, I covered each side with contact paper. An easy homemade gift for someone that has everything!
Three of four generations.
When I sat down to do this project with the kids, I remembered that I went through a phase when I would do this exact same thing. I cut pictures and words out of magazines, taped them to Kleenex boxes and then covered them with contact paper. Let me clarify, though, that during this phase I was 22 years old and a recent college graduate. My husband was quite amused when I shared this with him.
The more I thought about this, however, I realized that I had even done this prior to my 22nd year, in just a slightly different way. Check this out...
Here is a gift that I (with Mom's help, I'm sure) had made for my Grandpa, the same one who received Kleenex boxes from my kids. It looks like I wrote "Pencils" and my mom wrote "Grandpa Z." Add some stickers and then it WAS COVERED WITH CONTACT PAPER. Can you believe it??
Can you see where is says "From Sarah 1983?" That would be my Grandpa's handwriting. I was six. This pencil can stayed in his basement workshop until they moved from their home. I think I even like the pencil can idea better than the Kleenex box.
So, Mom, thanks for the great idea all those years ago.
I am 33 years old and have come to grips with the fact that I am not, nor ever will be, a star athlete. I have mostly come to grips with the fact that I can't dance. In middle school, I used to picture myself as the star of the talent show, dancing my little heart out to this:
That, sadly, is a true story. Big apologies to my husband as this, quite possibly, is the first time he is hearing this little tidbit from my past.
Anyways, the athletics and dancing I can deal with, but I also can't draw.
God did not give me the ability to draw anything beyond a stick figure, but it would be really convenient if I could. In my lifetime I have drawn three, THREE things worthy of a spot on the fridge: a dragon in 6th grade, an eagle in 8th grade, and a digger (I found step-by-step instructions while researching a cake design for Eli's Second Birthday). A dragon, an eagle, and a digger. That's it. So, I spend a lot of time typing random things into a Google Image Search.
Ok. Let's get to the point here.
Eli and I had been talking about how God created the world and I wanted to make him some cards, depicting the days of creation, that he could then put in order. Sequencing cards. Now, since I can only draw a dragon, an eagle, and a digger, I was in big trouble. Clearly, the only one I could even have used was the eagle, but I am pretty sure that was a one time miracle drawing. Off to Google I went...as I always do when I need pictures. I found these pages that you could use as a mini-book or sequencing cards.
Coloring our sequencing cards.
Putting adhesive magnet strips on the back. You wouldn't have to do this, but I thought it would be fun to arrange them on the fridge.
I was not crazy about these pictures, but left to my own devices, I would have had an eagle on Day 5 and six blank cards. I'll take what I can get on Google for free.
And now the sequencing...
I read to Eli from Genesis and he put up the cards that matched what I was reading. We then went back to do it a number of times without me reading. I had envisioned that Eli, upon completion of our sequencing cards, would go to the fridge independently to arrange them. Bummer...he doesn't do that. He will, however, sequence the cards if I am there to guide him through it.
Sequencing is a great skill for little ones. This could be utilized in so many ways...pictures of your kids doing the various parts of their nighttime routine, life cycles of plants or other living things. Do you have doubles of a book? Tear out the pages and let your kids put them in order. Do your kids read? Write phrases of a Bible verse on cards for them to put in order. So many possibilities!
A bit of a sheepish confession here...after watching "Unbelievable" videos I think I might still want to be able to dance to it. Sounds like an activity for the kids and me to do tomorrow. They think I am an awesome dancer and I will enjoy that while it lasts. I mean, it's not quite the Middle School Talent Show, but I will take it.
My kids love LOVE to paint. Abby will run around saying, "Maint Maint." It's pretty hard to resist that. Recently, I thought it might be fun to try painting with some random objects from around the house.
1. Q-Tips
2. Corks
3. UNSHARPENED pencils
4. Feathers
5. Chopsticks
6. Wheels that had fallen almost immediately off of a dollar store motorcycle
We talked about each item and predicted which we thought we would enjoy painting with the most. Not surprisingly, Eli thought his favorite would be the motorcycle wheels. Also not surprisingly, was that Abby agreed with Eli. Abby loves LOVES her brother. Let's just say that I will never be able to use the cliche "Well Abby, would jump off of a bridge/cliff/tall building if Eli did?" because she totally would.
In a very surprise moment, I even learned something about Eli's progression with numbers. When I gave him the #2 Cork and instructed him to paint in the #2 box, he went IMMEDIATELY to the #5 box. I was shocked and he was shocked when I pointed out the real #2. I filed that one away...good to know. My poor kids...we are never just having fun...Mom is always making them learn. That, dear Eli and Abby, is the downside of having a Mommy/Teacher.
I discovered that this was great for Abby and her fine motor skills...working to paint in a designated area.
After we finished, we all decided that the feather was the most fun. Our prediction was wrong! I even took a moment while they were painting to use my own feather to paint the front of some blank note cards. After we finished with our experimental painting we did some free painting. The kids used any tool they wanted and went crazy...I mean, as crazy as a mom will let her kids get when painting.
You are not seeing any cute kid faces becuase they are not wearing any clothes. My favorite time to paint is after we take off pajamas and before we get dressed for the day.
This was messy, but we had a really great time. I also thought it would be fun to do this again with all food (potatoes, celery, apples) or things from outside (sticks, rocks, leaves).
Happy Painting!
Let me know the most random object you use for your painting!!


